How to Prepare Content for Your Video Editor
Want the best results from your video editor? Proper preparation makes all the difference. Here is exactly what to send and how.
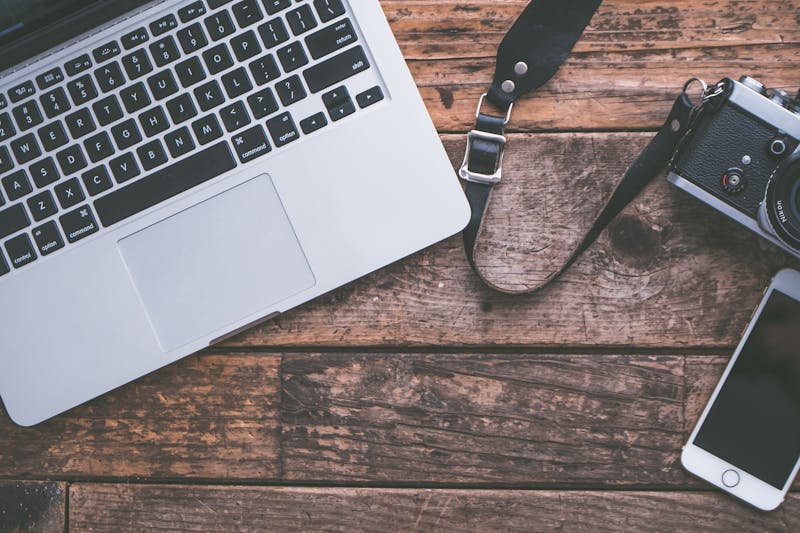
Organize Your Files Before Sending
Nothing slows down a project like receiving a messy folder of unnamed clips. Create clear folders: separate your A-roll from B-roll, label important clips, and include any specific timestamps you want used. Your editor will thank you.
Share Your Vision
The more your editor understands what you want, the better the result. Share reference videos you like, describe the mood you are going for, and explain who your target audience is. A 5-minute briefing saves hours of revisions.
Provide Your Brand Assets
Send your logo files (preferably PNG with transparent background), brand colors (hex codes), fonts, and any existing brand guidelines. This ensures the video matches your brand identity perfectly.
Send the Best Quality Available
Always send original quality files. Do not compress or convert your footage before sending it. Cloud storage like Google Drive or Dropbox works great for large files. The higher the quality in, the higher the quality out.
Be Clear About Deliverables
Tell your editor what formats you need: Instagram Reels (9:16), YouTube (16:9), website banner, etc. Also specify the desired length and any platform-specific requirements. Clear expectations lead to happy results.
Ready to start a video project? Get a free quote and we will guide you through every step of the process.